Serving Broward, Palm Beach & Miami-Dade





How Long Does It Take To Install A Garbage Disposal?

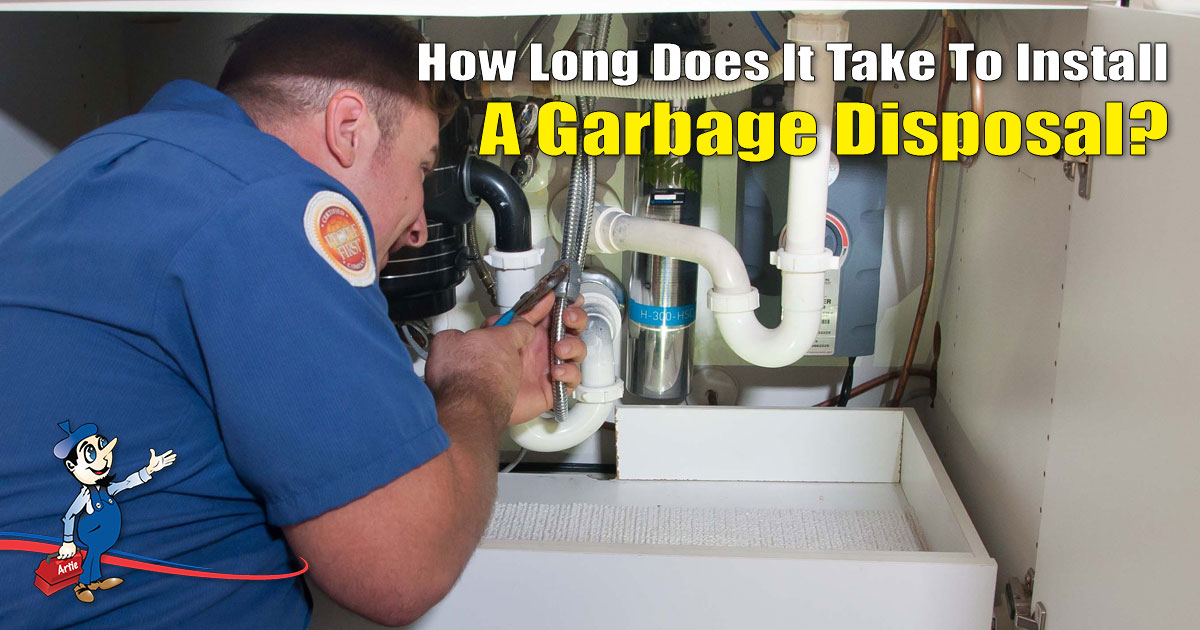
A professional garbage disposal installation usually takes about two to four hours. A direct replacement may take less time when the existing plumbing, mounting hardware, and electrical connections are compatible. A first-time installation may take longer if new plumbing connections, an outlet, a switch, or other electrical work are required.
A garbage disposal can make everyday kitchen cleanup faster and more convenient, but the installation involves more than attaching a new appliance under the sink.
The total installation time depends on:
- Whether the job is a replacement or a first-time installation
- The condition of the existing plumbing
- The size and type of disposal
- Whether the dishwasher connects to the disposal
- The available space beneath the sink
- Whether electrical work is required
- Whether the old disposal is difficult to remove
At Art Plumbing, Air Conditioning & Electric, we provide professional garbage disposal installation and replacement services for homeowners throughout South Florida. Our team can inspect the existing setup, identify any plumbing or electrical issues, and explain what the installation will require.
How Long Does a Standard Garbage Disposal Installation Take?
Most professional garbage disposal installations take approximately two to four hours.
A standard installation usually includes:
- Removing the existing disposal, if applicable
- Inspecting the sink opening and flange
- Installing or replacing the mounting assembly
- Connecting the disposal to the drain
- Connecting the dishwasher drain line, when needed
- Completing the electrical connection
- Testing the disposal for leaks and proper operation
- Cleaning the work area
The exact timeline can vary from one kitchen to another. A straightforward replacement may be completed more quickly, while a first-time installation or repair-heavy project may require additional time.
What Can Make a Garbage Disposal Installation Take Longer?
Several conditions can add time to a garbage disposal installation.
Difficult Removal of the Old Disposal
Older garbage disposals can be difficult to remove when the mounting hardware is rusted, seized, or corroded.
Removal may also take longer when:
- The disposal has been leaking
- The flange seal has hardened
- The mounting ring is damaged
- The unit has shifted out of alignment
- Previous repairs were completed incorrectly
The old disposal must be removed carefully to avoid damaging the sink, drain pipes, or cabinet.
Plumbing Adjustments
A new disposal may not line up perfectly with the existing drain.
Plumbing adjustments may be needed when:
- The new disposal is taller or wider
- The drain outlet is at a different height
- The existing pipes are damaged
- The trap is incorrectly positioned
- The dishwasher connection is missing
- The sink flange is leaking
- The drain line has corrosion or buildup
Improper alignment can create leaks, slow drainage, and strain on the plumbing connections.
Electrical Work
Garbage disposals require a safe electrical connection.
Additional electrical work may be needed when:
- There is no outlet beneath the sink
- The disposal must be hardwired
- The existing outlet is damaged
- The wiring is outdated
- The circuit is overloaded
- A switch needs to be installed
- An air switch is being added
- Ground fault protection is required
Electrical work should be completed by a qualified professional. Garbage disposals operate close to water, so safe wiring and grounding are essential.
Limited Cabinet Space
Tight cabinet space can make it more difficult to access the sink flange, plumbing, and electrical connections.
Installation may take longer when the cabinet contains:
- Water filtration equipment
- Pullout storage systems
- Large drain assemblies
- Dishwasher hoses
- Cleaning products
- Existing plumbing repairs
- Limited access to the back wall
Clearing the cabinet before the appointment can help the technician access the work area more easily.
Sink or Cabinet Damage
Water leaks from an old disposal can damage the cabinet floor, sink flange, or surrounding plumbing.
Additional work may be necessary if the inspection reveals:
- Soft or swollen cabinet material
- Mold or mildew
- Corroded plumbing
- A cracked sink
- A damaged flange opening
- Ongoing water intrusion
The leak source should be repaired before the new disposal is installed.
Is Professional Garbage Disposal Installation Faster Than DIY Installation?
Professional installation is usually faster and more reliable than a do-it-yourself project.
An experienced plumber or technician already has the tools and knowledge to:
- Remove the old disposal
- Install the mounting system
- Align the drain pipes
- Connect the dishwasher line
- Complete or inspect the electrical connection
- Test the unit
- Check for leaks
- Identify hidden plumbing problems
A DIY installation may take much longer when the homeowner encounters:
- Rusted hardware
- Incorrect pipe alignment
- Missing electrical connections
- A leaking sink flange
- A disposal that does not fit
- Damaged drain pipes
- Wiring that does not match the new unit
- Limited space beneath the sink
Incorrect installation can lead to:
- Water leaks
- Drainage problems
- Electrical hazards
- Cabinet damage
- Excessive vibration
- Premature disposal failure
- Unpleasant odors
- Dishwasher drainage issues
Professional installation helps ensure the disposal is mounted securely, connected properly, and tested before use.
What Does a Professional Do During Garbage Disposal Installation?
A professional garbage disposal installation involves several steps.
Inspect the Existing Setup
The technician checks:
- The sink opening
- The existing disposal
- The mounting assembly
- The drain pipe
- The dishwasher connection
- The electrical connection
- The cabinet space
- Signs of leaks or corrosion
This inspection helps identify any repairs or modifications needed before installation.
Turn Off the Water and Power
Turn off the electrical circuit serving the disposal before work begins.
The technician may also shut off nearby water connections if plumbing adjustments are needed.
Remove the Existing Disposal
For a replacement, the old unit is disconnected from:
- The electrical source
- The dishwasher drain hose
- The drain pipe
- The mounting assembly
The old disposal is then lowered and removed from the cabinet.
Inspect or Replace the Sink Flange
The sink flange creates a watertight connection between the sink and disposal.
The technician checks for:
- Cracks
- Corrosion
- Loose mounting hardware
- Failed sealant
- Water stains
- Improper installation
A damaged or leaking flange should be replaced before the new disposal is installed.
Install the Mounting Assembly
Attach the new mounting system securely beneath the sink.
The technician confirms that:
- The assembly is centered
- The seal is watertight
- The hardware is tightened properly
- The sink is not damaged
- The disposal can be supported safely
Connect the New Disposal
The new disposal is attached to the mounting assembly.
Connections may include:
- The drain pipe
- The dishwasher drain hose
- The electrical outlet or wiring
- The grounding connection
- An air switch tube, when applicable
Test the Installation
After installation, the technician tests the unit.
Testing typically includes:
- Running water through the sink
- Turning on the disposal
- Checking the flange for leaks
- Checking the drain connection
- Checking the dishwasher connection
- Listening for unusual vibration
- Confirming proper drainage
- Verifying safe electrical operation
Any leak or alignment issue should be corrected before the job is complete.
How Should You Prepare for Garbage Disposal Installation?
A few simple steps can help make the appointment more efficient.
Before the technician arrives:
- Remove cleaning products from beneath the sink
- Clear dishes and other items from the sink
- Make sure the cabinet doors can open fully
- Provide access to the electrical panel
- Avoid using the sink if the disposal is leaking
- Tell the technician about drainage problems
- Mention any breaker trips or electrical concerns
- Confirm whether the dishwasher connects to the disposal
- Have the new disposal available if you purchased it separately
- Keep pets and children away from the work area
You should also share any history of:
- Water leaks
- Slow drainage
- Foul odors
- Unusual disposal noises
- Electrical problems
- Previous plumbing repairs
- Cabinet water damage
This information can help the technician identify potential complications early.
How Do You Choose the Right Garbage Disposal?
The right disposal depends on how often the kitchen is used, the size of the household, and the type of food waste commonly handled.
Factors to consider include:
- Motor size
- Continuous-feed or batch-feed operation
- Noise level
- Grinding components
- Disposal dimensions
- Dishwasher compatibility
- Warranty coverage
- Septic system compatibility
- Available cabinet space
- Electrical requirements
Motor Size
Garbage disposal power is commonly measured in horsepower.
A smaller unit may be suitable for:
- Light kitchen use
- Small households
- Limited food preparation
- Occasional disposal use
A more powerful unit may be appropriate for:
- Larger households
- Frequent cooking
- Heavier daily use
- Tougher food waste
- Homeowners who want quieter operation
The disposal should be matched to the household’s needs and the available space beneath the sink.
Feed Type
The two common disposal styles are:
- Continuous-feed disposals
- Batch-feed disposals
Continuous-feed models operate while the switch is on and allow food waste to be added during operation.
Batch-feed models operate only when a special cover is placed over the drain opening.
The best choice depends on:
- Safety preferences
- Kitchen habits
- Household size
- Budget
- Available controls
Noise Level
Some newer garbage disposals include sound-insulation features.
A quieter model may be a good choice when:
- The kitchen is near a living area
- The disposal is used frequently
- Household members are sensitive to noise
- The homeowner wants a more comfortable kitchen environment
Quieter units are often larger, so cabinet space should be measured before installation.
When Should You Replace a Garbage Disposal?
A garbage disposal does not always need to be replaced when it stops working. Some problems can be repaired.
Replacement may be the better option when:
- The motor has failed
- The housing is cracked
- The unit leaks from the body
- The disposal is severely corroded
- The unit jams frequently
- Repairs are becoming more frequent
- The disposal makes excessive noise
- The unit is too small for the household
- Replacement parts are unavailable
- The disposal is near the end of its service life
Repair may be possible when:
- The reset button has tripped
- The unit has a minor clog
- A removable object is causing a jam
- A drain connection is loose
- The dishwasher hose is leaking
- The electrical connection needs a minor repair
A professional can inspect the disposal and explain whether repair or replacement is the more practical option.
What Are the Signs of an Improperly Installed Garbage Disposal?
An improperly installed disposal may show problems immediately or after several uses.
Warning signs include:
- Water leaking beneath the sink
- A loose disposal
- Excessive vibration
- Slow drainage
- A dishwasher that does not drain
- Frequent clogs
- A burning smell
- A breaker that trips
- Unusual grinding or rattling
- Water leaking from the sink flange
- The disposal shutting off during use
Do not continue using the disposal if you notice:
- Sparks
- Smoke
- Electrical odors
- Water near wiring
- A hot outlet or switch
- Repeated breaker trips
Turn off the disposal and schedule service.
How Can You Help a New Garbage Disposal Last Longer?
Proper use and maintenance can reduce wear and help prevent clogs.
Use the disposal correctly by:
- Running cold water before turning it on
- Keeping cold water running during operation
- Continuing the water flow briefly after grinding
- Feeding waste into the disposal gradually
- Cutting large scraps into smaller pieces
- Using the disposal regularly
- Keeping utensils away from the drain opening
Avoid placing the following items in the disposal:
- Grease
- Cooking oil
- Fat
- Fibrous vegetable scraps
- Corn husks
- Onion skins
- Large amounts of eggshells
- Bones
- Fruit pits
- Seafood shells
- Coffee grounds
- Pasta
- Rice
- Nonfood materials
These materials can cause clogs, jams, drain buildup, and premature wear.
Schedule Garbage Disposal Installation in South Florida
Garbage disposal installation typically takes two to four hours, but every kitchen is different. A simple replacement may take less time, while a first-time installation may require additional plumbing or electrical work.
At Art Plumbing, Air Conditioning & Electric, we provide professional garbage disposal installation and replacement services throughout South Florida.
Choose our team for:
- Professional plumbing service
- Garbage disposal installation and replacement
- Plumbing and electrical coordination
- Clear explanations of the work
- Careful testing for leaks and proper operation
- Respectful service inside your home
- Solutions based on your kitchen’s existing setup
Contact Art Plumbing, Air Conditioning & Electric to schedule garbage disposal installation or replacement.