Serving Broward, Palm Beach & Miami-Dade
Breaking Down A Ceiling Fan Installation
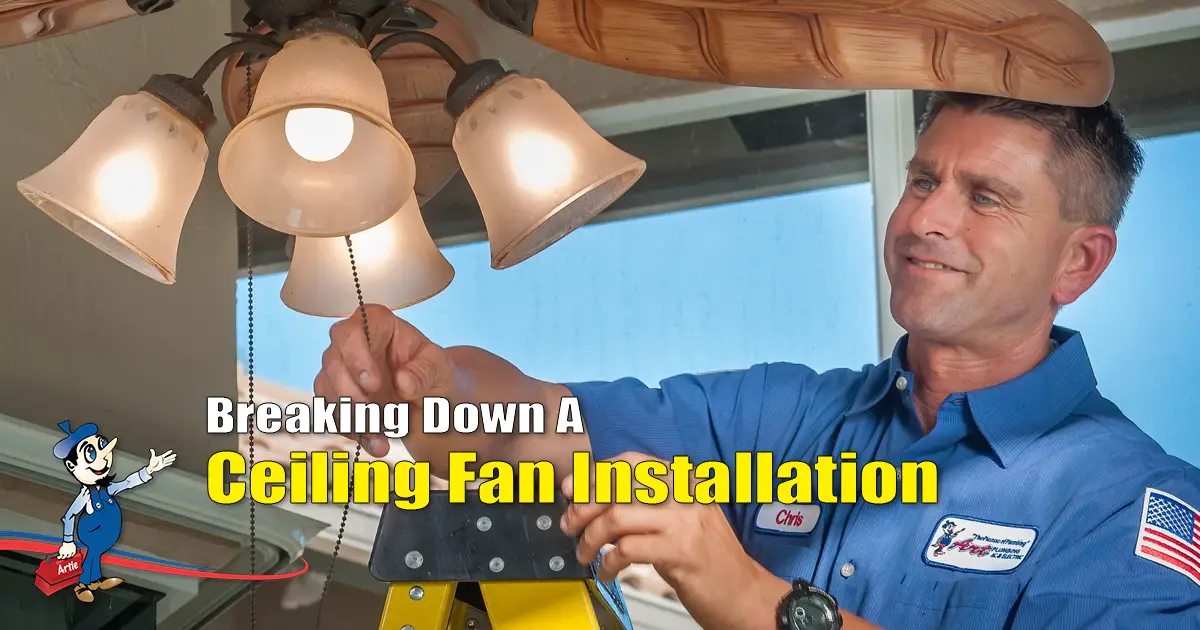
Aside from the functional aspect of having a ceiling fan in your home. Sometimes you want to upgrade your home’s aesthetic and you will need to install a new one. Fans are a cost-effective way to help keep your home cool and can help lower your monthly energy bill. There’s also a variety of models available on the market so you can find something that suits not only your budget but also your home’s aesthetic.
The Steps Of Ceiling Fan Installation
It’s never recommended to DIY any electrical tasks that involve fittings, fixtures & electrical wiring. However, the following is a brief guide on a ceiling fan installation:
1. Remove existing fixtures
2. Make an appropriate-sized hole in your ceiling after removing the electrical box
3. Attach and rewire a new more suitable electrical box
4. Mount the appropriate plates
5. Assemble the fan
6. Connect the wires
7. Install the lights & fan blades.
Remember that ceiling fan installations can seem straightforward, however there are various hidden hazards behind this seemingly simple installation process. In fact, there are many places between steps 1 and 7 that can be hazardous not only to you but also to others in your home.
There’s a shocking side to ceiling fan installation if you make a single mistake when handling the installation. Therefore, it’s never advised to DIY the process.
Breaking Down Ceiling Fan Installation
It seemed so straightforward, right? You have an existing ceiling fan, and it seemed simple enough to just switch it out for a new one. Except it’s not that easy. There are various things that need to be considered when handling the installation of a new fan. This is where a licensed electrician from Art, Plumbing, Air Conditioning & Electric can help.
- Weight:
Different models of ceiling fans come in different weights. If your newer ceiling fan is heavier than the current fan there may be issues. You may need to use special mounts to ensure the fan is secure. There’s also a difference between when a ceiling fan is still and when it’s in motion. The vibrations caused by motion could cause an improperly installed fan to fall.
- Electrical Wiring:
Just because you’re replacing an existing fan or installing a fan over an area that may have housed an existing light. It doesn’t mean that the wiring is compatible. The wiring could be old or frayed. The wiring for a light fixture is also different from what’s needed for a ceiling fan.
- Sizing & Placement:
Your licensed electrician will take the sizing of the room and even the fan blades into consideration. Different-sized blades will also impact the flow and amount of air circulated. If your fan isn’t suitably sized, you could end up with a lot more noise than you bargained for. If it isn’t placed correctly and is too close to a light fixture, you may end up with constant flickering if both the fan and the lights are on at the same time.
Ceiling Fan Installations You Can Trust
Now that you know to never DIY a ceiling fan installation, it’s time to call in the professionals to handle it for you. The reliable team at Art Plumbing, Air Conditioning & Electric has got you covered! Not only will you have your new fan installed in no time, but you’ll also have peace of mind knowing it was done correctly. If you have any questions or concerns about your residential ceiling fans, reach out to us today at 1-800-475-1504!